I’ve been using Git for quite a while now. It took me some time to get used to it. At first, I wasn’t very confident playing in the CLI, then I tried a few GUI clients before realizing what I was trying to achieve with Git, as a one-man company was far from rocket science, and decided to move back to the CLI and just type the few commands I was to use.
For your info, I use Bitbucket as a cloud repos provider. I love Github (and use it for public demos) but no offence to them, Bitbucket is too good to be true. The perfect tool for freelancers like me, as it offers unlimited repos and space for teams of 5 users and less for free.
Cannae beat it as they say in the west of Scotland.
I don’t intend to change my git routine for the moment – as I was saying – since it perfectly suits me, but I thought I would give Ungit a go, as I have to admit its web based UI, especially for Git newbies, is extremely appealing.
Let’s do this
Node, and Git are pre-requisites. So if you don’t have them, go ahead and install them first.
Once this done, just type:
npm install -g ungit
Watch for your ‘sudo’ if you’re thrown an error.
Go to the folder of your project, and simply type:
ungit
This will automatically start a new web server and open a new tab in your favorite browser chrome.
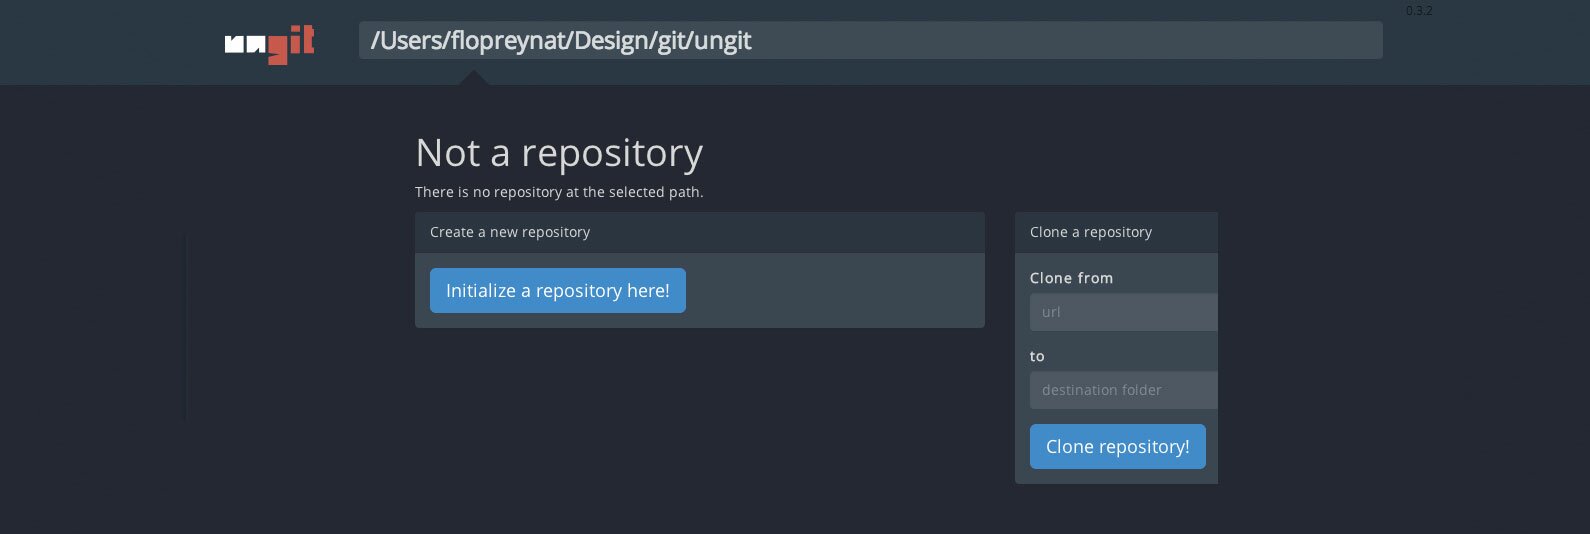
I’ve made the test using a brand new folder with a simple html file in it. First of all, notice the ‘initialize a repository here’ button. Click that to make your folder git-ready.
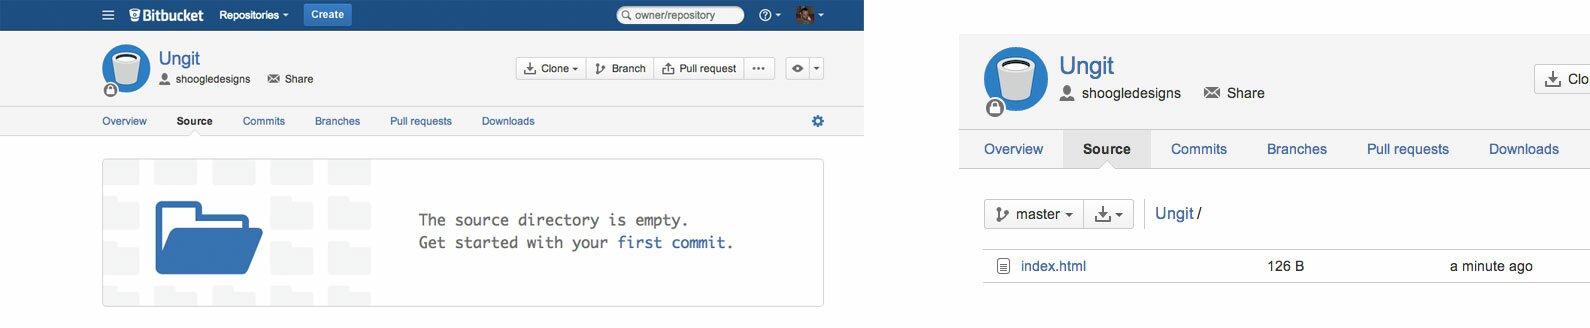
Add a remote repo if needed. In our case, I went ahead and created a repo on Bitbucket, and used its .git url to make the connection with the local machine. You can also clone if you’ve got a project ready somewhere in a repo.
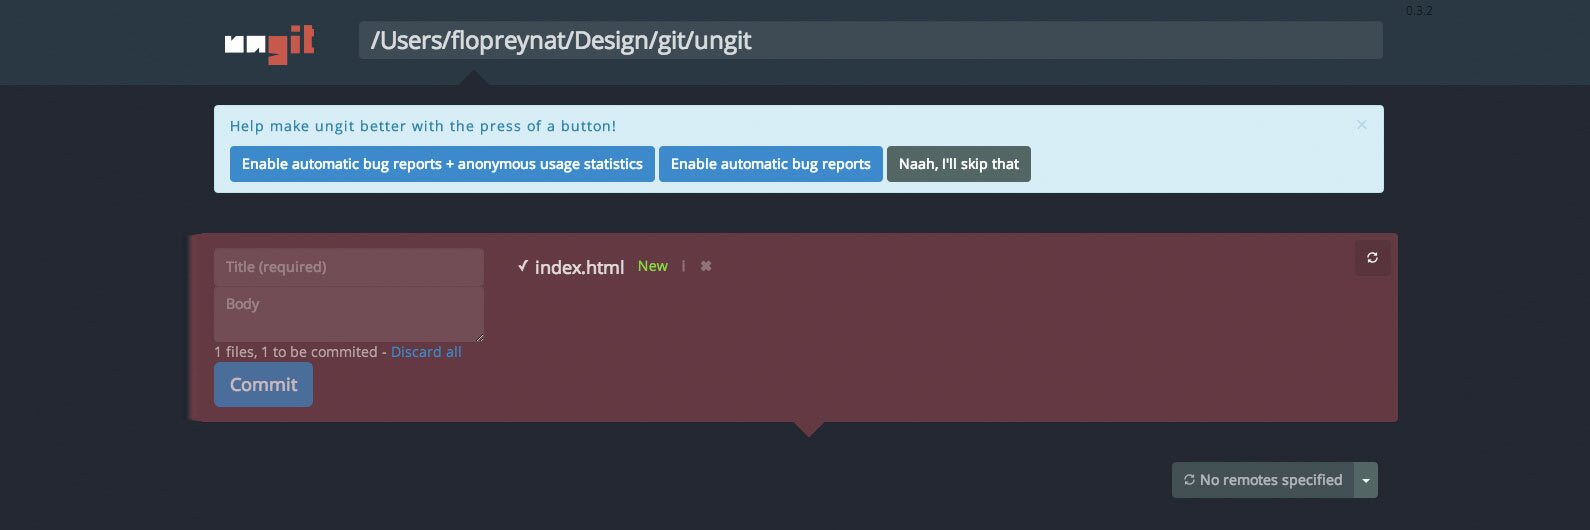
Commit locally your index.html file by giving your commit a name, then push to Bitbucket by simply pressing push.

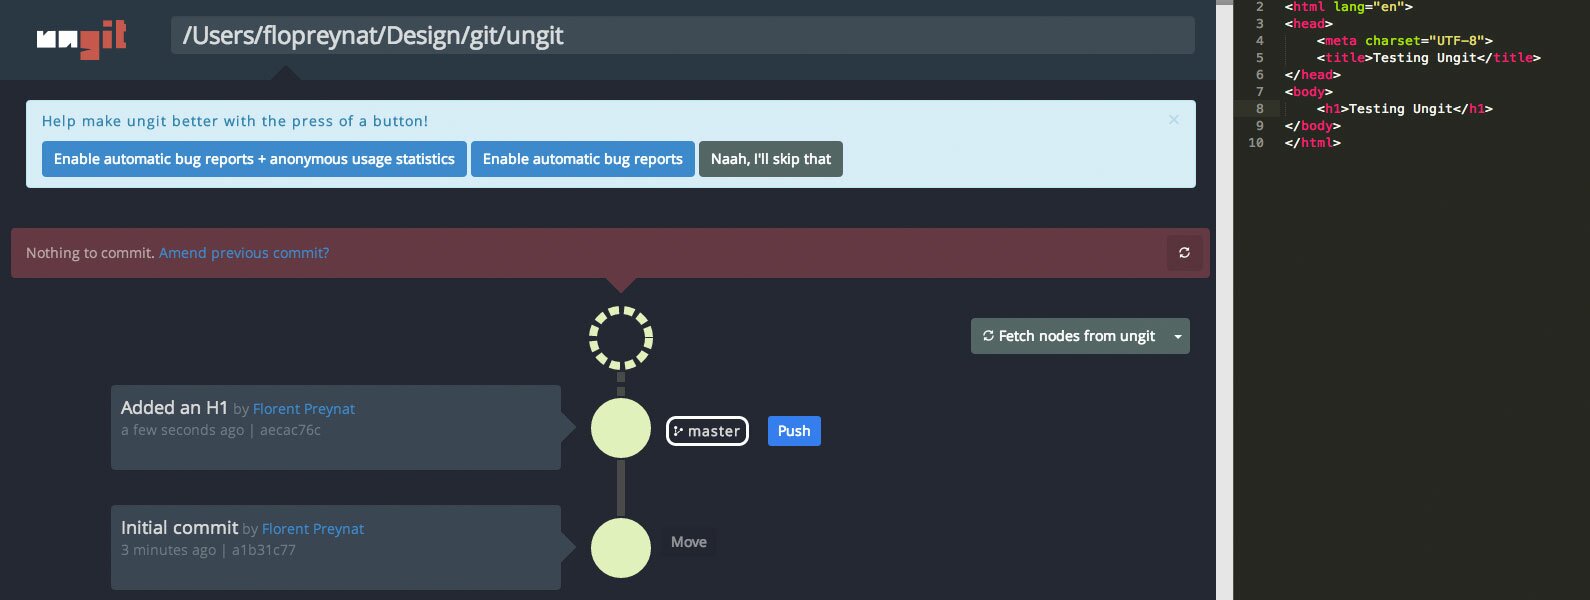
When you make changes to your file(s), Ungit will automatically recognize the need to commit. As an example, I added an h1, committed it, and pushed it up.
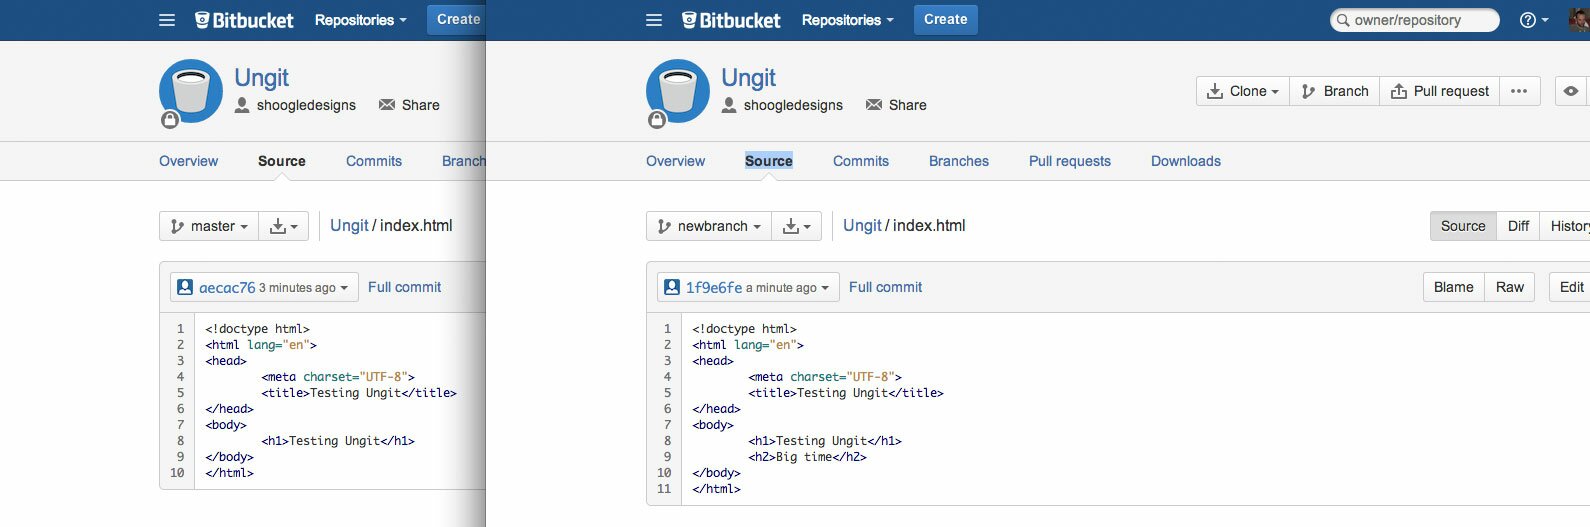
You can create branches, and checkout from Ungit, make changes (here I added an h2), and see your changes in Bitbucket once commited and pushed, …

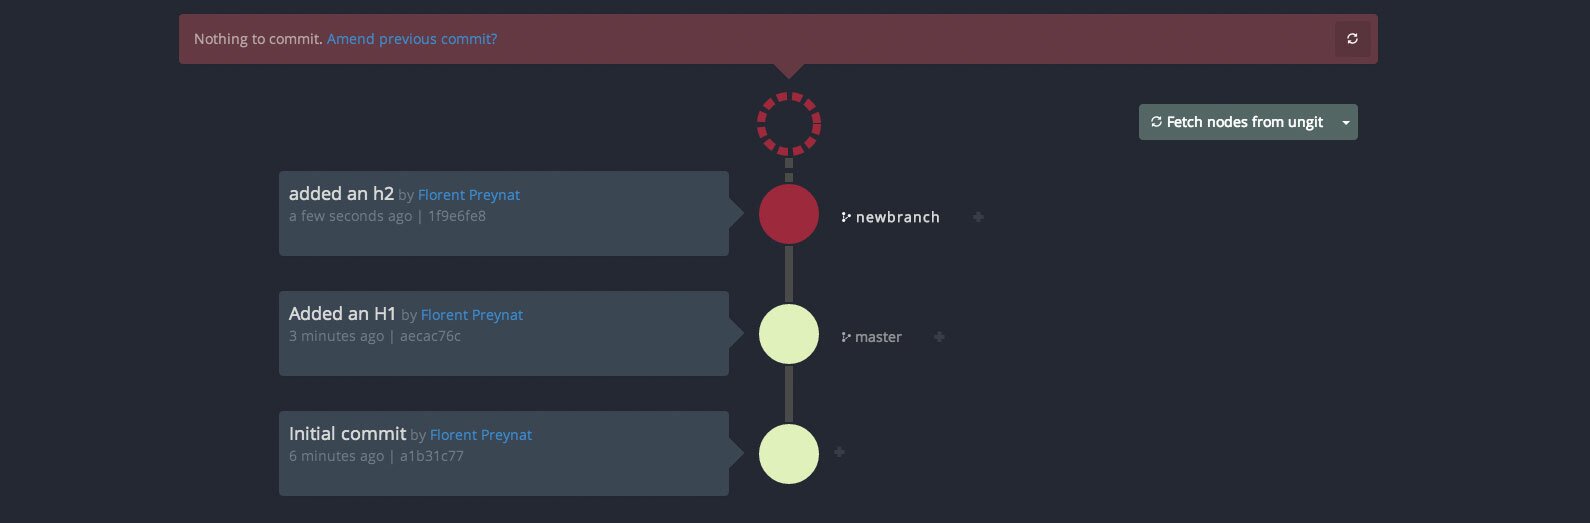
… and obviously see the various versions of your file(s) depending on the branch picked.
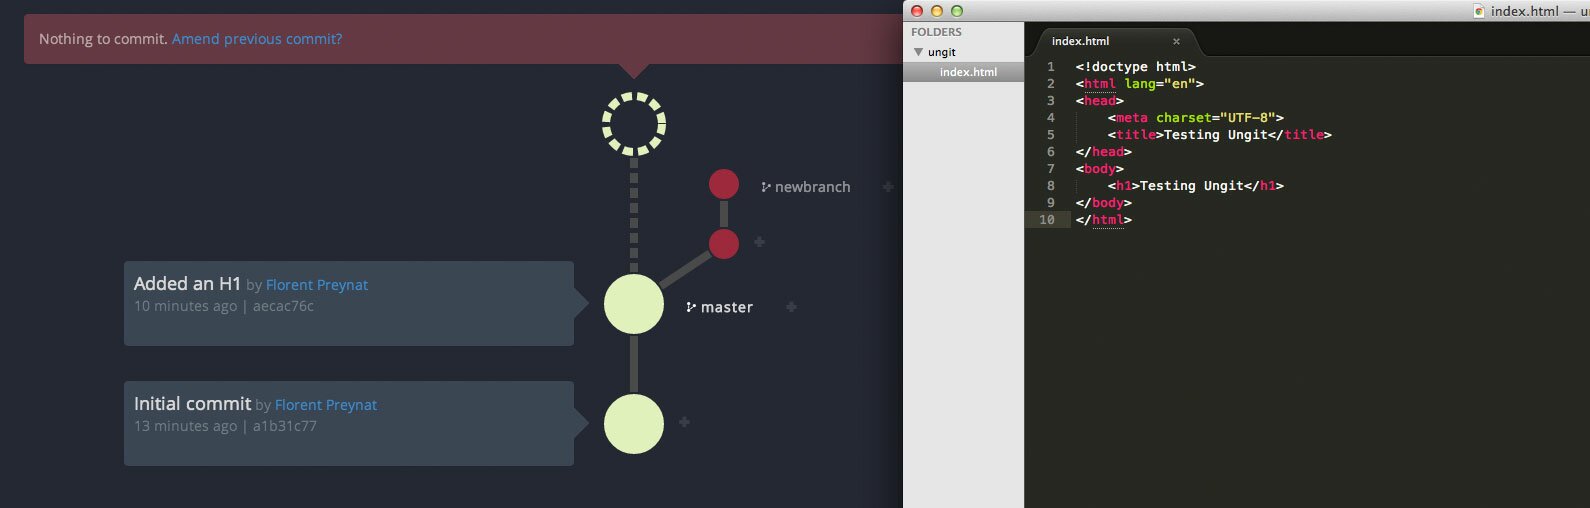
One thing to note is the ability to see the code altered in your files to be commited by simply clicking on the file(s) name(s) in Ungit. You can also uncheck the files to be ignored in your commit (check mark beside each amended file).

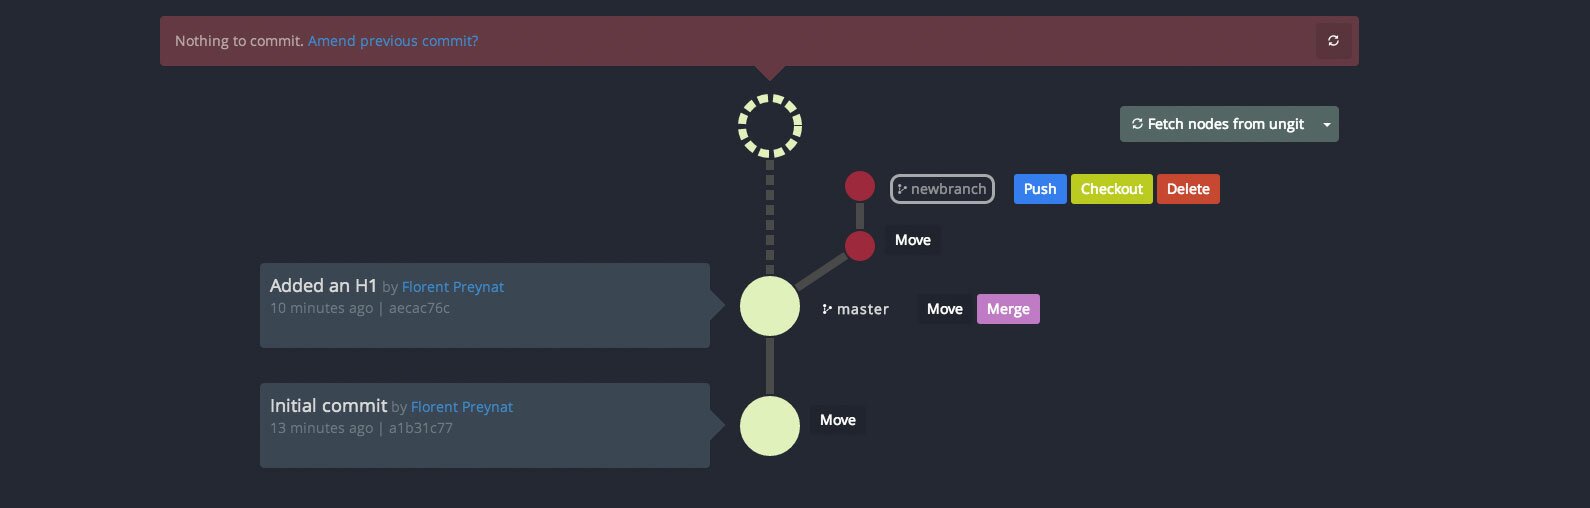
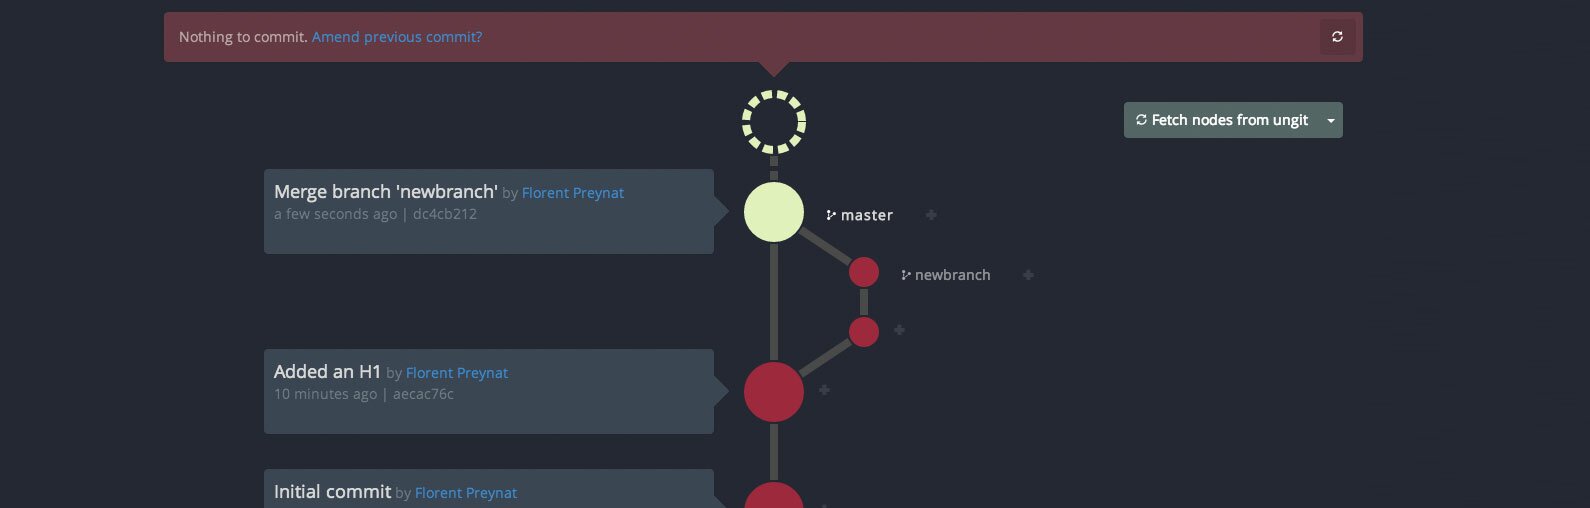
I played a bit more with the UI, and made more changes to the file, before checking out the master branch, see how easy and beautiful Ungit displays your position on the branch(es).

Merge your branches when you’re happy with your changes.
You’re starting to see my point, you can do it all git wise, all from Ungit.
How awesome is this tool?
Yeap,…pretty much wicked.
Notes:
You can give Ungit’s maker Fredrik Noren some love here.
while the Ungit repo can be found on Github.

My name is Flo Preynat and I am the freelance webdesigner and developer behind shoogle designs. I live in France and specialize in responsive web design. Give me a shoogle or get in touch with me on twitter.
Follow @shoogledesigns


