Use your kids’ toys to personalize your graphic designs
Filed under Photoshop
Browsing through Google images or the hundreds of stock photography agencies available on the web is something that has become more than a pre-requisite when you carry out (from scratch) any graphic design.
This is why posts presenting the latest and hopefully most innovative series of button, social media icons or other graphic arts are so popular among the designing community.
But sometimes, you only need to travel as far as your kids’ rooms to find what you’re looking for. Chance is your toddler(s) has(ve) every vehicle, every shape, and every animal in stock (somewhere in that mess of theirs) but as a stubborn geek, you will remain seated, and determined to find what you’re looking for on some obscure web page full of poker links, flashing ads, or less-inviting invitations to a revolutionary diet formula based on the consumption of nothing but ribs and curry sauce.
‘Google’ your kids room instead
Here’s a little habit of mine I find not only recreational, but very rewarding. I tend to use my kid’s toys to personalize my graphic designs. Not only I find it very enjoyable to use the very same items I have queued for in my local toy shop, fighting off a hundred millions screaming equivalents of my own progeniture, but it makes me happy to see my boy’s face when he finds out his favorite toy is on ‘daddy’s website’.
The Herbie example
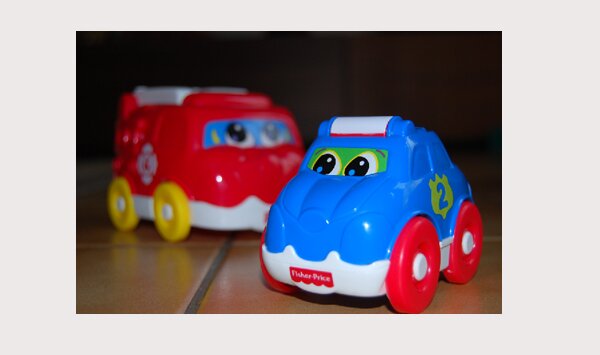
Here’s a quick example I’d like to walk you through. A few weeks back, I intended to use a cartoon-like representation of Herbie (The famous Disney Volskwagen Beetle) on an F1-looking circuit, and decided to use my boy’s favorite toy car instead.
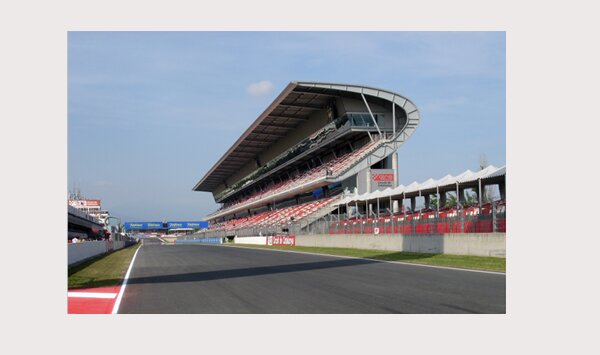
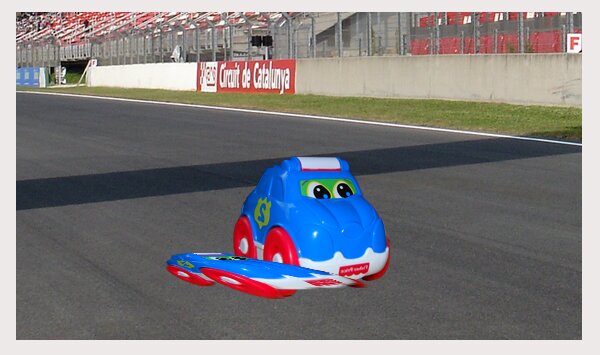
Here’s a pic of the car (you can really see I could have been a professional photographer if I had wanted to), and a snapshot of a circuit I found somewhere on Google.
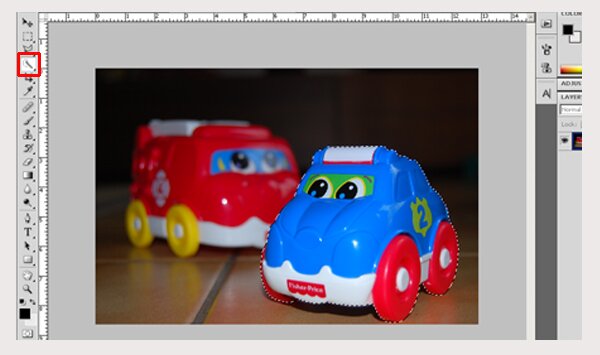
The Photoshop routine
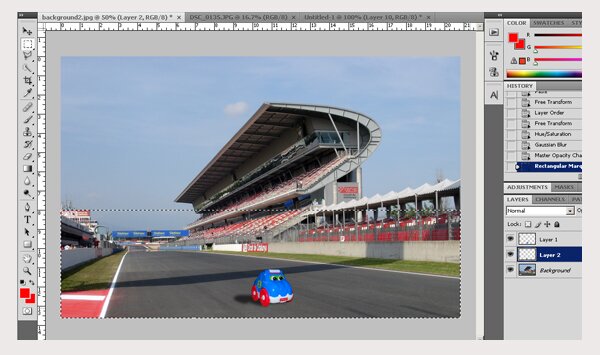
Right, let’s use the Quick Selection tool to select our motorized subject. Let’s leave the shadow out of our selection, as we will add the shadow ourselves. Copy and Paste the selection on the circuit and use Command+T (CTRL + T for windows users) to resize the car. Give it some realistic size and position on the road and validate your reshaping task.
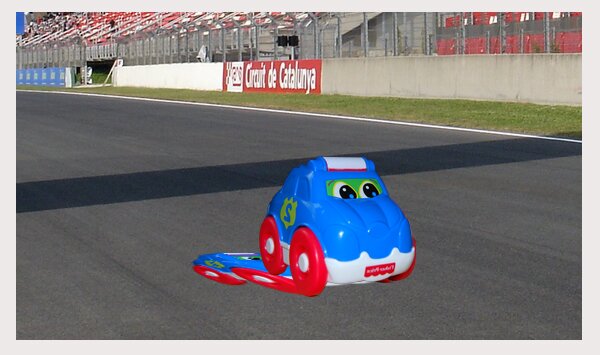
If you have followed my previous tutorial (Create realistic shadows in Photoshop), then you wont have any issue following the next few steps, as we are going to give our very own Herbie a shadow. Paste once again our car onto a new layer, and give it a flat-looking and realistic position, as shown below.
Send the shadow layer to the back, by re-ordering the layers.
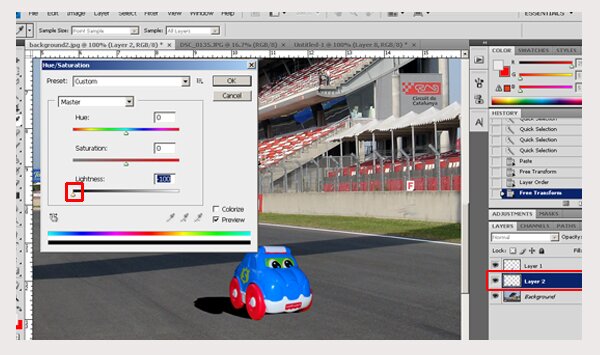
Use the Image/Adjustments menu to change the Hue / Saturation settings to bring the lightness to a minimum.
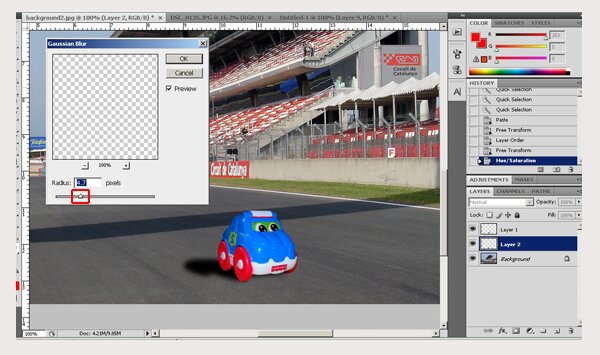
Give the layer some blurry effect, using Filter/Blur/Gaussian Blur and a radius of around 5 pixels.
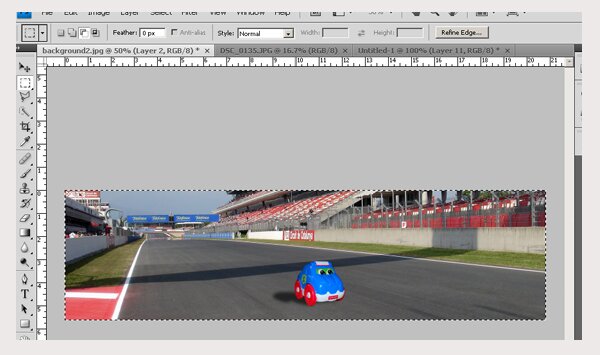
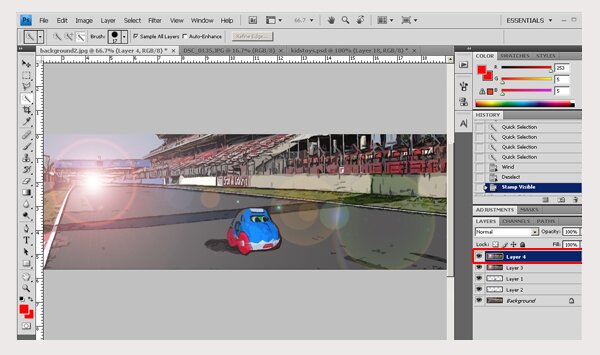
I want the viewer to concentrate on the car; therefore the size of this picture is way too big for my liking. This is when I selected only a part of it and cropped it a more appropriate shape.
Ok, now we have a good view of our car, nicely predominant on the tarmac. Let’s add some effects to it.
Create a new layer and merge whatever is visible onto it. So you can work from one flat image (and have the source available in case).

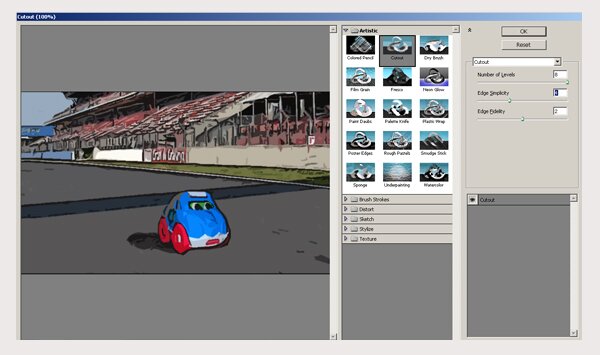
Use the Filter/Artistic/Poster edges followed by a (Filer/Artistic) Cutout effect to give your artwork a more cartoon-ish aspect.

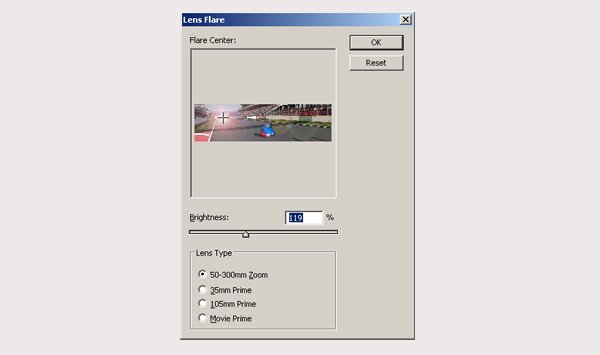
Some Lens Flare addition will give the impression of reflecting asphalt with a ray of light coming from the back. Not too much brightness here, as we don’t want the car to be drown in the light.
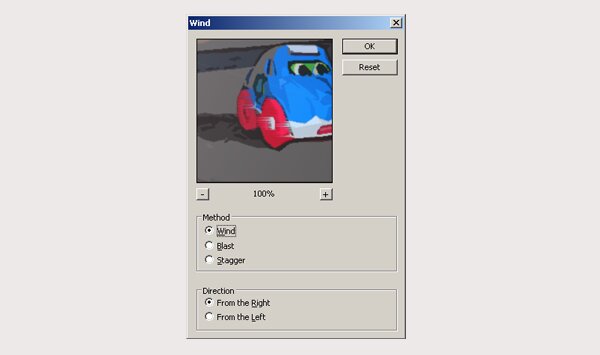
Ok let’s use the Quick Selection tool to select the wheels of the car and use Filter/Stylize/Wind to give your vehicle some speed. Don’t go mad on the wind force as it won’t have the adequate effect. Wind from the right is what I selected here.

Create a new layer, and once again copy all the visible layers onto it. Use once again the Quick selection tool to select your car and shadow and use the clear key.
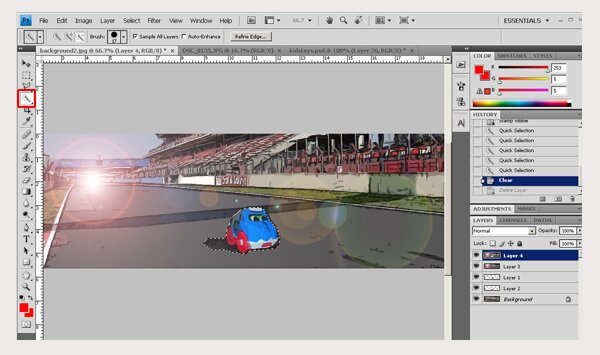
This will allow you to apply one last effect on the whole top layer without interfering with your main object.
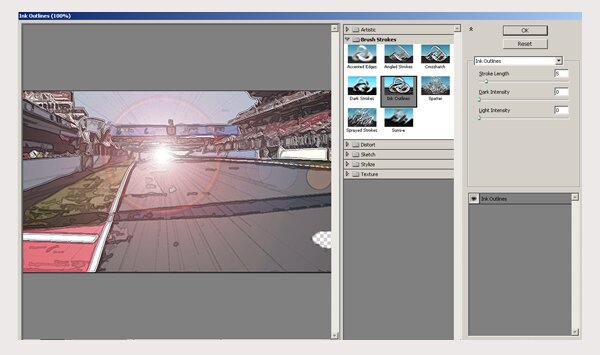
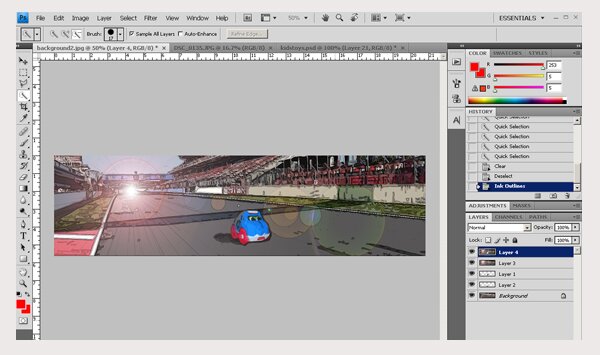
Command + D to unselect your slected area, and (top layer still selected here), use the Filter/Brush Strokes/ Ink Outlines to finish off your work. This will give the background some more cartoon-ish effect, and also will place a nice outline on your lens flare lighting effect.
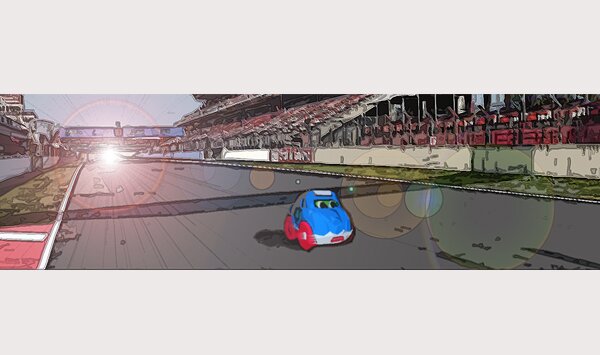
The Final Result
Share This


Jun07